Our most recent gathering of the
Second Saturday Scrum Club (which meets once a month for friendly fights across my dining room table) was devoted to playtesting the scenarios for
Sellswords & Spellslingers I plan on running at Historicon in July. After our
earlier club game with this system, Steve Braun smartly observed how the game is almost perfectly tailored for running a scenario based on the Robert E. Howard's "Beyond the Black River" in which Conan and his companions spend nearly the entire story attempting to evade the rampaging Pictish hordes in the wilderlands that the Aquilonian empire is struggling to colonize.
My aim is to run two linked scenarios based on the story in a four-hour time slot at Historicon. So as to avoid any spoilers for possible Historicon players, I'll discuss the scenario particulars after the convention. In the meantime, however, I'll share a number of pictures on the preparatory work I've been doing. I still have a fair amount to do--painting the palisade fortifications, "flocking" all of the jungle terrain bases--but I did get all of the necessary pieces pulled together for a useful and fun playtest, which was immensely helpful in rethinking some of the scenario details to help ensure I can fit them into the allotted time.
I've never run a convention game before (indeed, I've only attended three game conventions in my life, the first a little under a year ago), and I hadn't read "Beyond the Black River" since I was a teenager, though like many of its readers, it's seared into my memory and ranks as one of my favorite Howard
Conan stories (somewhat ironic given that Conan actually doesn't appear in it anywhere near as much as other stories featuring the protagonist. In fact, the character Balthus and the dog Slasher had occupied an outsized portion of the story's pages in my memory.)
To make it embarrassing for me to back out of this undertaking, I wrote up and submitted the game for consideration by the Historicon organizers. When it was accepted and in the printed program, I knew it was time to go back to "school," giving the original story a close re-reading and filling the margins with little notes. If you're going to run a game based on an admired yarn such as this, you'd better get the spirit
and the details right.
 |
| A couple of re-reads later with copious scribbled marginalia and I was officially excited to translate this to a miniatures game setting. |
 |
| Just to be thorough, though, I also pulled out my old issues of Savage Sword of Conan and printed the PDF to the recent Conan RPG supplement based on the story. |
 |
| One of those classic John Buscema splash pages from the early 1970s. I think this is when I decided I was going to need to incorporate some of this great art into my game. (Incidentally, don't you wish Alfredo Alcala had inked Big John's pencils on these two issues instead of Tony DeZuniga?) |
 |
| On the bus to New York City a couple of weekends back to see good friends and check out the David Bowie exhibit at the Brooklyn Museum. The four-hour trip provided some long stretches to work out scenario details and add some new traits and items to the Sellswords & Spellslingers rules. |
River Making
It would be a bit silly to base a game on "Beyond the Black River" and not have an actual river come into play. I've been debating for over a year now as to how I would add a river to my stockpile of gaming terrain, but was struggling to find something that worked and looked exactly as I wanted. I know what I think makes for cool terrain and what doesn't...
 |
| I kinda hate river terrain like the above that sits so far above the rest of the ground that it looks more like an amusement park log ride flume than an actual integrated piece of the landscape. |
 |
| I love the aesthetics of integrating rivers into terrain as in this example, but you have to commit to terrain board(s) that can then never really be modified. I don't want my games to feel like we're fighting over the same damn river every time we play, as awesome as this treatment of rivers truly is. |
So, I researched a lot of tutorials for making rivers, and while I didn't find anybody who checked all of my boxes, it led me to to where I ended up, which was to borrow an idea from last Halloween's miniatures game: linoleum floor tiles.
I had used linoleum floor tiles to build all of the roads for
my zombie apocalypse game, and they turned out really well. One lesson I learned from that experience was that cheaper is better: Buy the thinnest tile you can find. That thinness makes it both easier to cut with scissors and less obtrusive when set atop a grass battle mat.
I also like using these 12"x12" linoleum tiles because they let you easily make quite a wide river. Too many wargame rivers, at 3" or 4" wide, are more like creeks or streams, especially those sold on the market. I want a river, especially for this game, to have a real presence and be something that can't be crossed with a running jump. Both the Black and Thunder Rivers need to be imposing, and these tiles let me build the 8" wide rivers I wanted. Still, I almost wish they were wider yet, but the entire game is played in a 3'x3' area, so I scaled back my river-building ambitions a bit (and that's the great thing about this material and approach: it's cheap and fairly quick to bang out decent-looking river tiles of any size you might want in the future).
 |
| I started by making one test piece to try all of the techniques I wanted to use. First, I took a 12"x12" tile, and measured in two inches from each edge so that each side would have exactly an 8" opening. There's no real reason to take off this paper from the adhesive underside, so I just left it on. |
 |
| I spray painted the top side black. I wanted that as the base color as it is the Black River after all. The top side had an organic enough texture on it (though I wasn't completely happy with the direction of the pattern). I originally was going to explore using the adhesive side, but it had a different machine-like dimpled texture that didn't look organic at all. |
 |
| I forgot to take a pic of the painting on the test piece, so I'll discuss it more below, but this photo shows the application of the gloss Mod Podge, which produces cheap and easy water effects. There are lots of video tutorials online for how to apply Mod Podge as a water feature. This isn't going to win any awards, but it is a heluva lot better than the pieces of blue felt with magic marker lines for currents than I had been using up to this point. |
 |
| One professional terrain maker recommended using a popsicle stick instead of a brush to apply the Mod Podge. I found it made almost no difference at all, but maybe I was impatient and not doing it correct. Note those little bubbles in the Mod Podge. I went back over them to smooth some of them away early on, but I learned after this test piece that you won't notice them at all once everything dries, and so I quit bothering. |
 |
| Here's the finished test piece with some sand glued down (PVA) for the shore line. I lightly dry brushed the darkest blue over the black along the center (and thus deepest) part of the river. Then I more heavily dry brushed with the same color along the sides of that "darker" stripe down the middle. I then dry brushed with an even lighter touch with a light blue along either side of the shore. I then took a deepish green to add sporadic dry brush streaks randomly in different areas to introduce a different hue to the water. I think the spare application of green works, but it only if used sparingly. I changed my approach described above to painting the rest of the tiles based on what I learned from this piece (see below for my revised approach). |
 |
| I wanted to see how I felt about the scale of the river, so I pulled out a couple of pulp/Cthulhu minis and plopped them down. This felt like a river you weren't going to skip across. |
 |
| Now that I was ready to bang out several tiles at once, I knew that I wanted them to all be able to fit seamlessly together. First, I laid them end to end, and then I outlined the rivers contours on the back side so that they would align. I also numbered them on the backside so that I could easily identify what river section should go next to another. After priming the top sides black, I started in on the painting (again with each section abutting), integrating a lesson from the first tile I painted: Start with the lighter color first at the outer edge and work your way inward with the darker color. But more importantly, lay the light color on heavily enough so that no black is showing through. The black primed area should only show through the blues and greens as you make your way toward the center/deepest part of the river. It undermines the illusion of increasing depth from river bank to river center if the black is poking through the light areas near the bank (as in my test piece). The picture below provides a sense of how I altered my painting approach to achieve this better than I had on my test piece (the test piece is on the top left). |
 |
| Six feet of river tiles painted with sandy banks (no Mod Podge yet).Note the darkening gradation of the color from edge to center (as mentioned above). |
 |
| The sand I used looked, well...sandy, so I painted it all a uniform brown to help if t look less like a beach and more like a muddy embankment. I haven't done any additional flocking to these pieces yet. I'm on the fence on how to proceed, though I'm tempted to add some small rocks and maybe an occasional discrete tuft of grass. |
Jungle Terrain (part 1)
I've been wanting to make jungle scatter terrain for over a year, mostly because I know I'll want it for some planned games of Pulp Alley, a system I'm longing to try. Committing to the Historicon game meant it would push the jungle terrain project to near the top of the queue. Fortunately for me, fellow Scrum Clubber John Sears posted one of his fantastic tutorials last year on his own jungle terrain making efforts (for his
Blood and Plunder campaign, I believe). I'm following John's approach almost slavishly, so you should check out his
post.
 |
| Might as well not die making terrain out of insulation foam. |
 |
| Scatter terrain shapes drawn on 2'x2' one-inch think insulation foam. Hot wire cutting tools at the ready. |
 |
| Priming the carved shapes with a mixture of matte Mod Podge and black paint (just add enough black paint to some Mod Podge so that it starts to turn black...if it's still grey, add more black paint). This should seal the pieces and make them a little sturdier than they would be otherwise. |
 |
| Again, I simply used John Sear's color scheme of a couple of shades of green over top a coat of brown. Note that it's not exactly clear from the photos on John's site or mine, but his pieces are cut significantly bigger than most of mine. |
Alas, this is is where Part 1 of my jungle scatter terrain overview ends because I have not had time to glue on all of the plants, trees, and shrubbery that will completely cover these bases. This was enough, though, to let me play test things. Check back for my Historicon post in late July to see the final steps I'll take to finish these up for game day.
Thematic Playing Pieces and Narrative Immersion
I'm a proponent of making wargames as immersive as possible. That, to me, seems like the real reason to even bother painting up all of these little figures and crafting semi-realistic environments for them to run amok in. A part of what I find helps with this immersion is injecting as many narrative hooks and devices as you can into game play and customizing any "stock" playing pieces (card decks, etc.) to make them more evocative of the setting, characters, and story.
Andrea Sfiligoi has come up with a great rule set with
Sellswords & Spellslingers that will work for anybody's fantasy game. One of its strengths and weaknesses, though, is that it is basically setting agnostic. Most of the cards detailing foes, traps, events, items, etc. all have to be kept fairly generic so that anybody picking up the game can jump right in with whatever figures they have. But anybody who has an affinity for the genre knows, fantasy comes in many flavors, and
Sellswords and Spellslingers leans pretty heavily on the "high fantasy" tropes of generic D&D. A lot of the character traits, monster profiles, items/equipment and their accompanying playing pieces (cards, etc.) reflect that flavor of fantasy.
 |
| One of the game's original cards from the "Monster" deck. Perfect for your high fantasy adventures. |
 |
| One of the game's original cards from its "Events" deck. Again, does the job of being adaptable to any scenario, but those ratmen just won't do in my Howard-inspired game. |
I wanted to create pieces for the game that helped pull players into the story and the world. To that end, I designed cards specific to the game's setting and characters that still conveyed all of the mechanics necessary to keep the game moving. The art on the cards needed to properly evoke the setting, and the text was written (where possible) to reinforce the narrative.
The regular version of the game also uses tables instead of decks to resolve certain mechanics. Tables can be easily scanned by players (especially in a co-op game) thus eliminating the element of surprise if you bother to even give a cursory look at the table. I designed decks for everything that the regular game uses a roll on a table to resolve. The cards gave me another opportunity to evoke the "feel" of the scenario.
 |
| The various decks and a "quick rules summary" sheet I developed for my game when I go to run it at Historicon. In playtesting with the Scrum Club, this QRS sheet let me cover all of the rules in about five minutes so that we could get right to playing. |
 |
| I've created a profile card for each character with a photo of the corresponding miniature. |
 |
| Many of the traps in this deck are scenario specific. |
Portable "Random Placement" Rails
Much of my thinking while preparing to run this at Historicon has been devoted to ways to streamline certain parts of game play. One streamlining effort involves the random placement of foes on the battlefield. The dice mechanic in the rules as written requires introducing six-sided dice into the game (the rest of the game is d20 based), multiplication, tape measures, and coordinating X and Y axes and corners every time the random placement rule in invoked. And even after all of that, the results are not actually random, but skewed by the probabilities inherent in rolling two dice. To speed things along, I came up with another method. I used 3/4-inch trim board with some powerful rare earth magnets to create a border around the playing area with pre-demarcated increments of 20 along each axes. This allows a quick roll of two color-coded d20s (white and black numbers) to produce a truly random result. I also added numbering to each corner (some cards indicate a corner placement) to allow for quick selection of a random corner with a d20 roll. This approach is essentially a portable version of the one I developed when I made the custom battle board for my playtest of
Run from the Dead (the yet to be released zombie apocalypse version of these same rules).
 |
| Painted green to blend in with the battlefield. |
 |
| The black "18" black and white "2" quickly give you the coordinate on the playing area. |
 |
| Powerful rare earth magnets to snap the "frame" together. The number range in the bottom corner ("11-15" here) allows for a quick roll to determine placement when a card indicates placing a foe in a random corner. |
 |
| Magnets allow it to come apart for easy transport and storage. |
Bamboo Village Walls
This is an idea I had about a year ago that I finally tried. We had some old bamboo place-mats that my wife was about to throw away. I grabbed them thinking they might work for this purpose. The result: I got some very flexible bamboo outer walls for my Pictish village, though next time I'll actually try to cut them a bit straighter. I might paint them a more bamboo-ish brown, but I'm not hating the green.
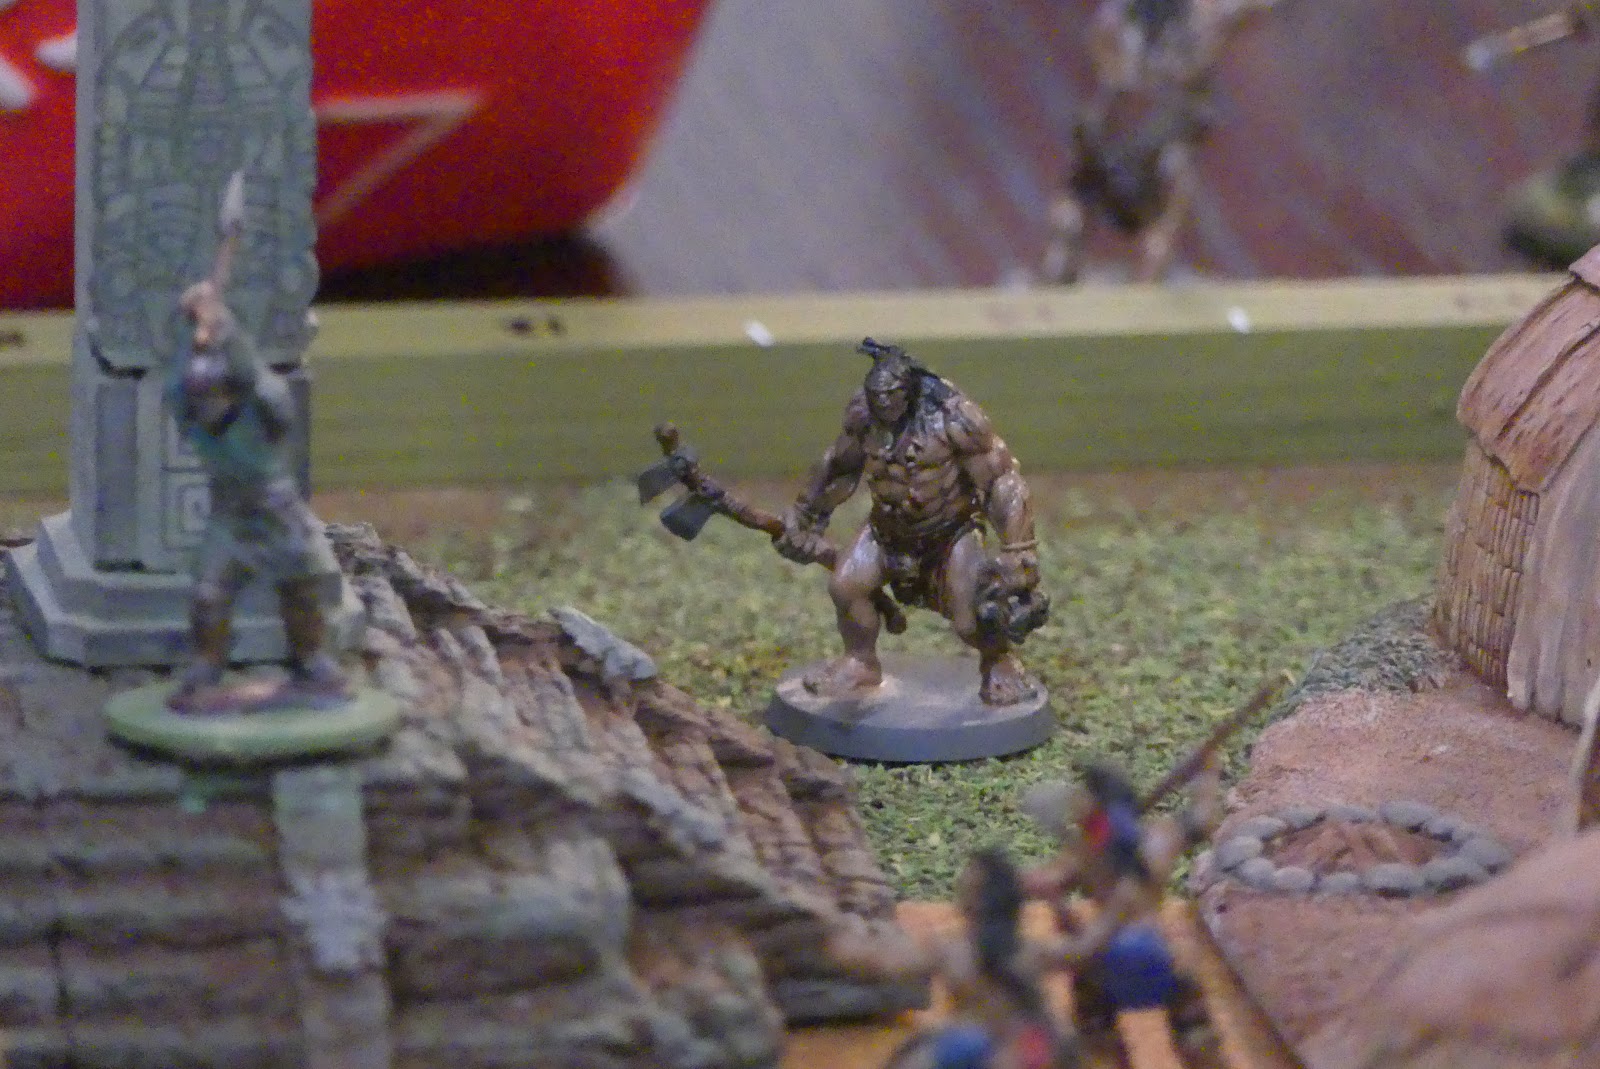
Playtesting the Game
As I mentioned earlier, I'll refrain from discussing the playtest game or design of the scenarios at this point; that will appear in the post-convention report here on
Scrum in Miniature. But my wife and others did take lots of great pictures from the Scrum Club gathering, so I'll share them without (much) comment below.
(Click any picture to enlarge.)
 |
| Starting far left then clockwise around table: Steve Braun, Garrett O'Hara, Joe Procopio, Walt O'Hara, and Rich McKee. |
 |
| How did this Space Hulk escape pod end up here? Jared had just finished painting it that day and wanted to show off his handiwork. Well done, sir! Your mega Space Hulk games are sure to be the hit of the con circuit this summer with the more discerning attendees! |
 |
| Many Picts from Steve's collection...transported in egg cartons! |
 |
| These chaps might ultimately be thankful they weren't chosen for the mission. |
 |
| Same gang as above, but this time John Sears leans into the picture at bottom right. |
Look for the follow-up blog post in late July after I've had a chance to finish up some more of the terrain pieces and run the game for some folks at Historicon 2018. If this looks like something you'd enjoy playing at the convention, I hope to see you there!
And, okay, for those who
really want to read about the playtest game, I encourage you to check out Walt's
excellent recap over at his blog,
Third Point of Singularity. It contains spoilers, though, so if you want to play at Historicon and be surprised, I'd bookmark it for later reading.


Great work on the rivers - and an extremely clever solution for the random placement!
ReplyDeleteThanks, Marc! Appreciate the kind words.
DeleteAbsolutely brilliant work Joe! Everything looks amazing! Super disappointed that I won't be able to see it in person - it can be hard while running the game, but try to take as many pictures as you can ☺ definitely want to see how the game goes.
ReplyDeleteThanks, Mr. Evans! Creating the deadline for myself has been great for getting a lot of pieces moved out of the rumination stage and onto the actual "workbench." I'm sorry to hear you won't be at Historicon this year...as I've said before, I love seeing your work (and those recent Zorro figures are no exception....Hope you run a con game with those someday!)
ReplyDeleteWow - you’ve put both a lot of thought and effort into preparing for these games - I think your future players will really be grateful for that. I love putting on linked scenarios at conventions as it motivates the players to stay in the game as it “impacts the future”
ReplyDeleteI’ve run a few convention games in the past and the only advice I can give you is don’t over-prepare and lock in on a certain style of game play - convention game players vary a lot and that impacts the game play to a large degree. I’ve learned that too much playtesting can actually be a negative as the gym can tend to guide the players to a certain set of conclusions. Be prepared for unexpected outcomes!
Also know the rules - and in the event your not sure how to make the right rules call, pretend you are.
I look forward to seeing your games at Historicon
Thanks for the encouraging words and advice, Miles. Truly appreciated! I'm sure I'll learn some things my first time out of the gate. For me the measure of success will be if everybody left the table having had fun....everything else is secondary.
DeleteLooking forward to playing in your "SOCOM & Sorcery" game at Historicon!